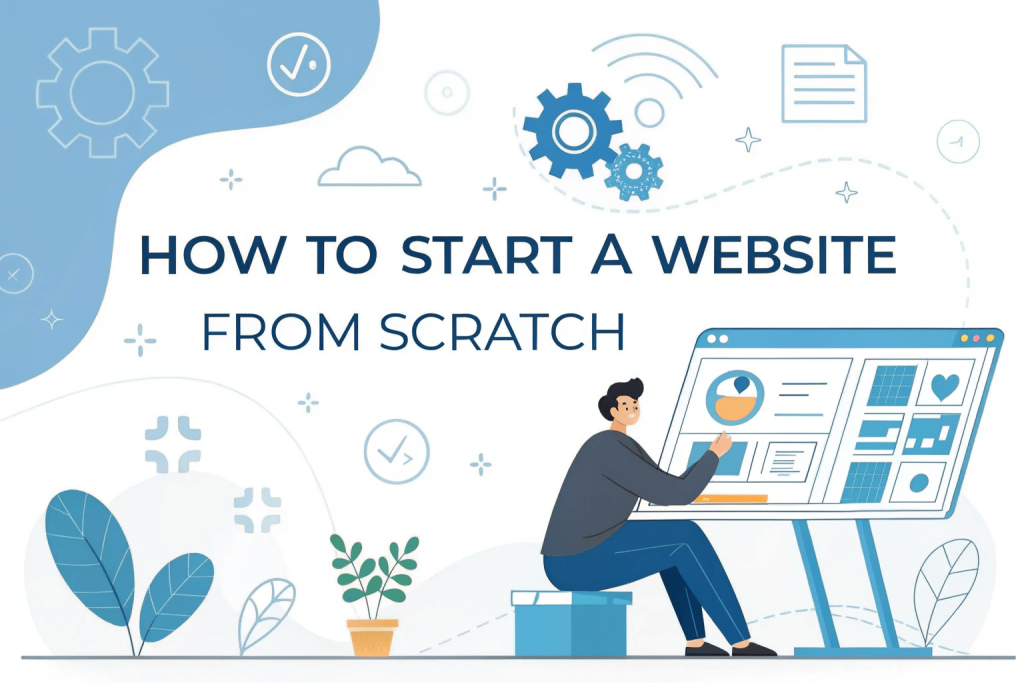
If you’re wondering how to start a website from scratch but don’t know where to begin — you’re in the right place.
Whether you want to create a personal blog, business site, portfolio, or online store, this beginner-friendly guide will walk you through every step, from buying a domain to launching your site live on the internet.
Let’s get started!
Step 1: Choose Your Website Purpose
Before anything else, ask yourself:
What is the purpose of your website?
- Personal blog – to share your ideas or experiences
- Business website – to promote your products/services
- Portfolio – to showcase your work
- E-commerce store – to sell online
- Landing page – to promote a product or campaign
Knowing your goal will help you choose the right tools and platform later.
Step 2: Pick a Domain Name
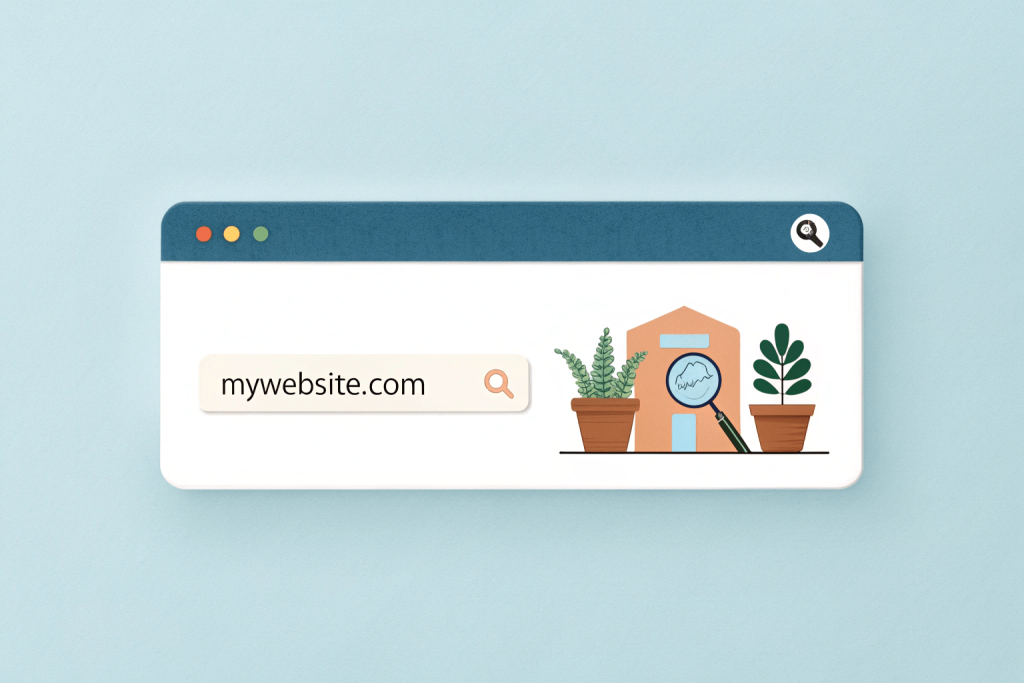
Your domain name is your web address (like yourwebsite.com). Choose something:
- Short & memorable
- Relevant to your brand or niche
- Easy to spell
- .com is ideal, but you can also choose
.net,.org, or niche extensions like.store,.tech, etc.
You can check and register available domain names through platforms like Hostinger
Step 3: Get Web Hosting
Web hosting is where your website lives online. It stores all your website files and makes them accessible to the world.
For beginners, we recommend Hostinger for its affordability, speed, and beginner-friendly dashboard.
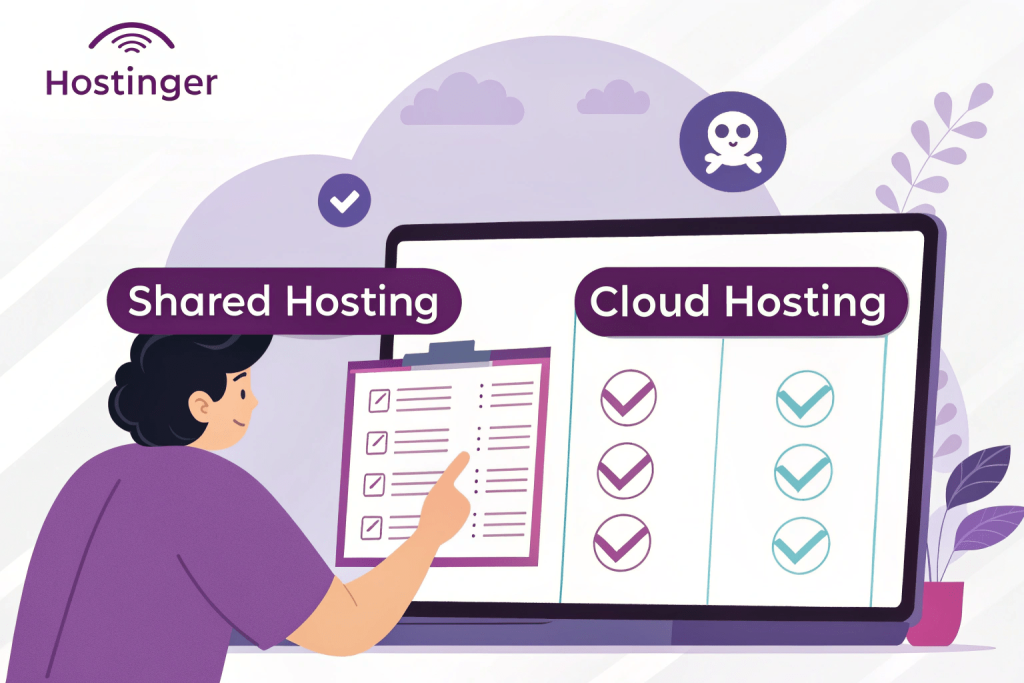
Why Hostinger?
- Free domain (with premium plan)
- Free SSL certificate
- One-click WordPress installation
- Affordable starting plans
- 24/7 customer support
Click here to get Hostinger Hosting with a Discount.
Step 4: Install WordPress (One-Click Setup)
Once you’ve signed up for hosting, you can install WordPress in one click from your hosting dashboard.
Why WordPress?
- It’s free, open-source, and highly customizable
- No coding needed
- Thousands of themes and plugins available
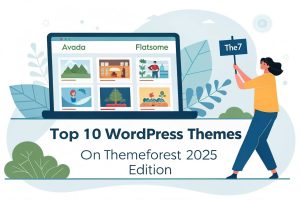
Step 5: Choose a Theme (Design Template)
A WordPress theme controls the look of your website. You can use free themes from the WordPress repository or premium themes from ThemeForest.
Recommended:
- For blogs: Astra, Kadence, or Soledad
- For business: Avada, X, or Enfold
- For eCommerce: Flatsome, Porto, or WoodMart
You can browse top-rated themes on ThemeForest here
Step 6: Add Pages and Content
At a minimum, create the following pages:
- Home – main welcome page
- About – introduce yourself or your business
- Services / Products – what you offer
- Blog – for content updates (optional)
- Contact – with a form, email, or map
You can easily add content using the WordPress block editor (Gutenberg).
Step 7: Install Essential Plugins
Plugins extend your website’s functionality. Here are a few must-haves:
- Yoast SEO – improve your search engine rankings
- WPForms – create contact forms
- Elementor – drag-and-drop page builder
- LiteSpeed Cache – for fast loading
- UpdraftPlus – backups
Step 8: Launch Your Website!
Double-check everything:
- Mobile responsiveness
- Spelling/grammar
- Working contact forms
- Speed performance
Once you’re satisfied — share your website with the world!

Final Tips
- Stay consistent with your content
- Promote your site on social media
- Monitor performance with Google Analytics
- Start small, improve as you grow
Bonus: Start with the Right Tools
Now it’s your turn!
Follow the steps above and launch your first website today — no coding required.
Need help with build your full business website? Click & drop your message in WhatsApp!